

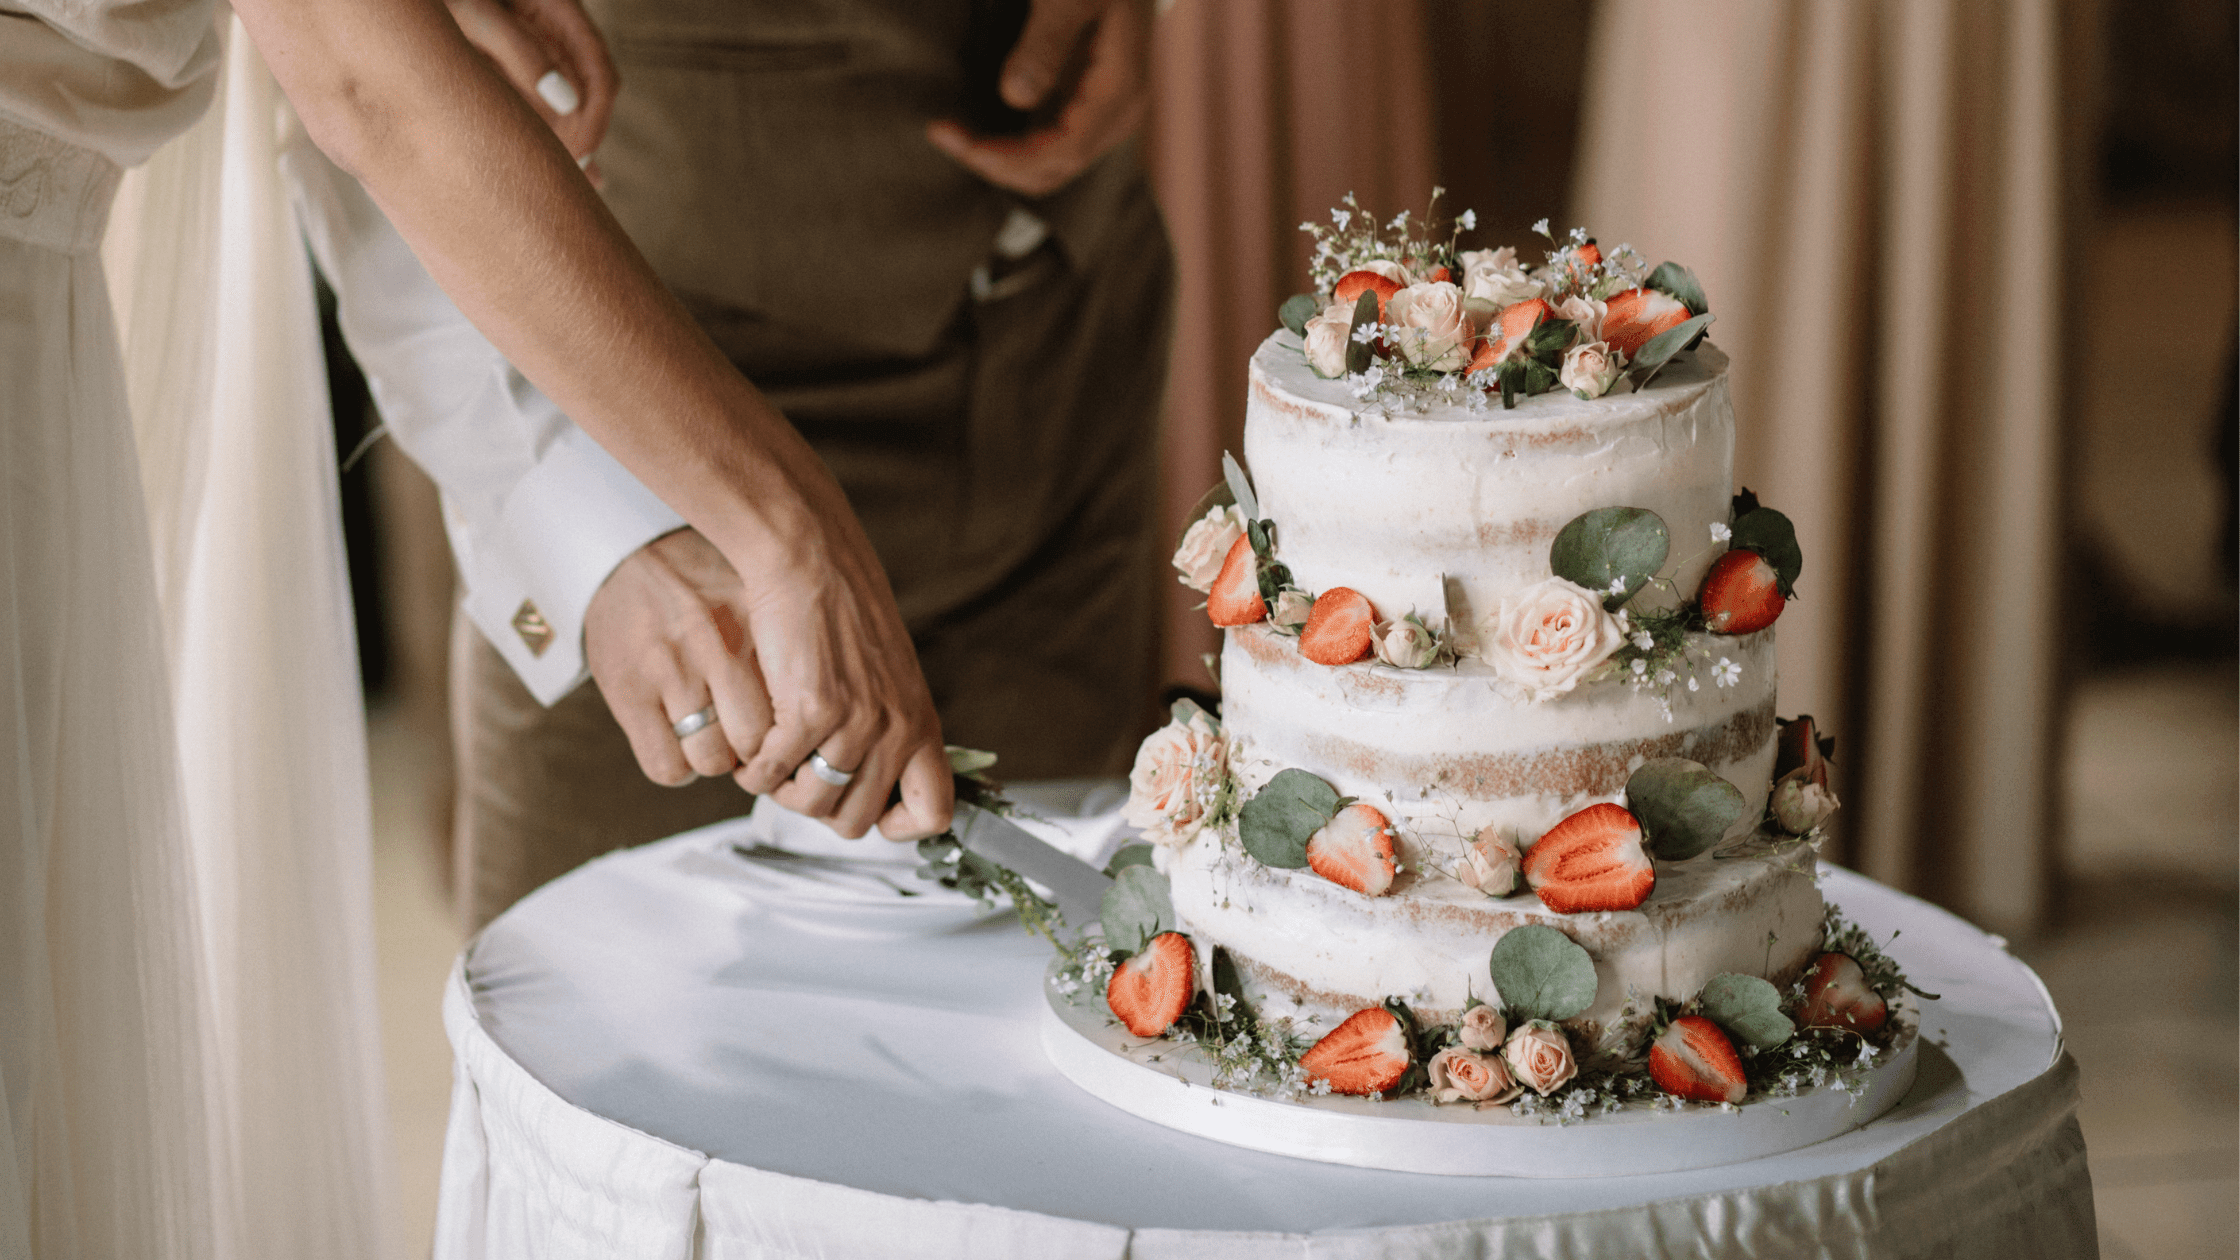
A wedding celebration stands as the main special moment in many people’s lives. How can you make it feel even more special? Well, add your own unique touch to it. To all creative couples out there: it’s time to be productive!
In the creative realm of a wedding - either if you have decided to rely on a wedding planner or if you are exploring the option of a DIY organisation – the possibilities are far from being exhausted.
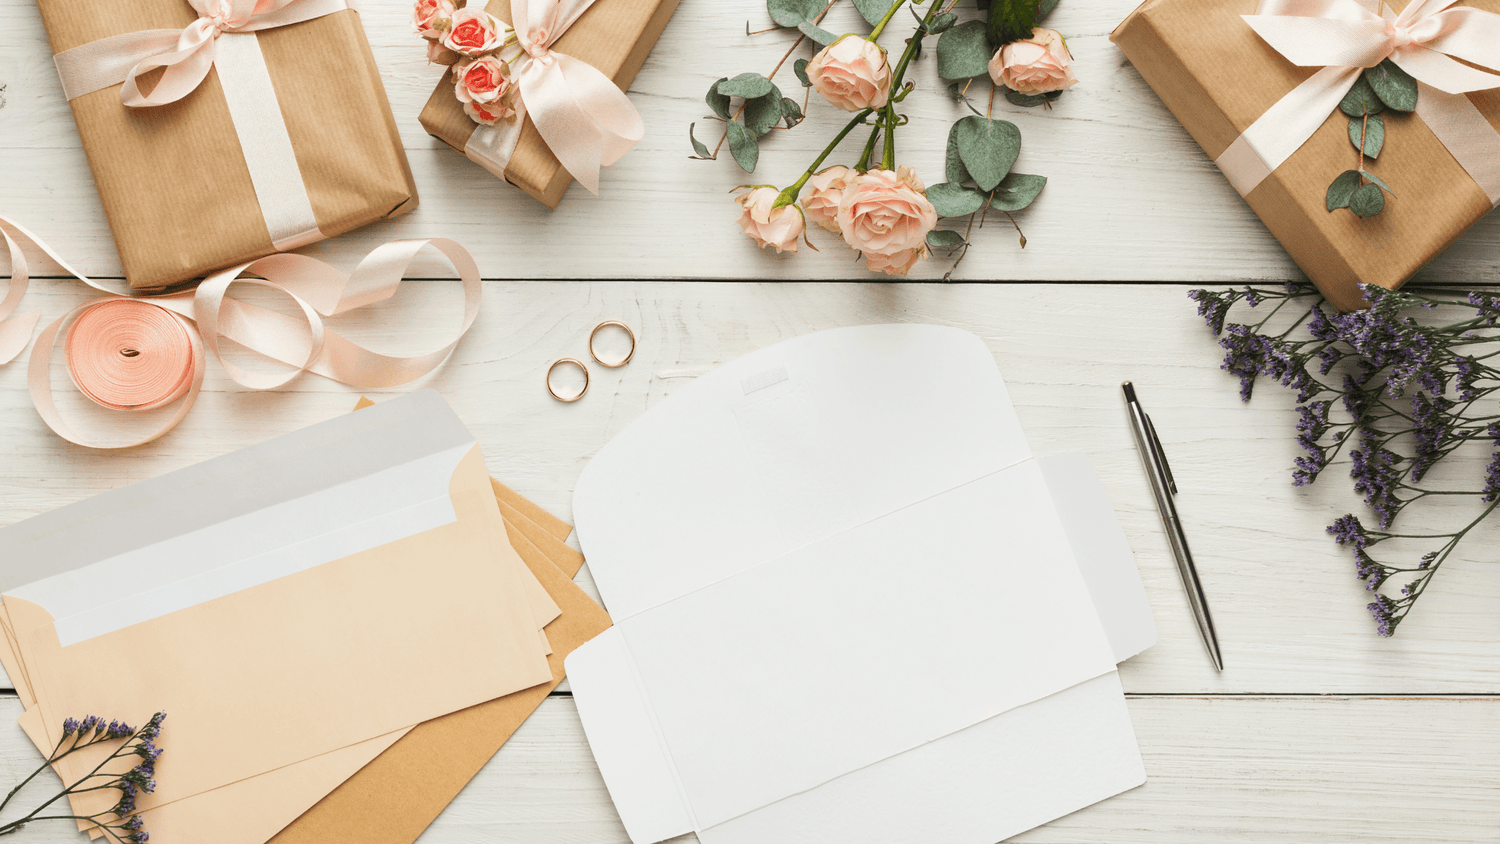
Creating your own wedding invitations can become an incredibly fun activity to do with your significant other, but it also helps saving money. Our guide on how to create your personalised wedding cards will help you keep everything organised and get the best possible results!
Step 1 – Take inspiration
Before you purchase all the materials and start getting your hands dirty, our advice is to browse for inspiration. Pinterest is the quintessential platform for this time-consuming activity. Need to save time? Create your “Wedding Stationery” board and Pin everything you may find inspirational.

A little disclaimer: don’t get intimidated by how difficult your picks may seem to be reproduced. Sometimes, it becomes surprisingly helpful to draw from the totality of the reference pictures, instead of focusing only on one. It may happen that you decide to incorporate one detail from one project, and others from different ones. So… let your serial pinning begin!
Step 2. Brainstorming
We know, you are becoming impatient to put your hands on the action. But this is still a guide and, trust us, your tidy mind and working table will thank us later.
So, now you have gathered all those lovely ideas that you are so eager to put into practice. The next step is: organise them in a hierarchic list, from the ones you absolutely cannot do without to the ones you saved for small details only.
An helpful strategy would be to print all the pictures, get a plain poster to hang on the wall and divide it into two halves, one for “Must” and one for “Maybe”.
Now you are ready to fill each side in with your chosen props. What about the ones you are struggling to categorise? Discard them! It’s good to have more options but remember that you cannot include everything you may like.
Step 3. Get your materials
Having visual cues on your necessary tools and materials will make the shopping so much easier and faster! Make a list on your phone of the paper, colours, dry flowers, ribbons, stamps or anything you will need in the next steps. If you are on a budget, a good tip would be to look at prices on the internet (Etsy is the place!) and then compare them to the ones in stores.
If budgeting is not your main priority, we have another suggestion on how to make your wedding a bit more special. Have a walk around and enjoy getting the right advices on what to get from your local experts. Giving your contribution to your local shops will make things easier (and more enjoyable) for you, and surely very much appreciated by your community.
Step 4. Create!
The moment everybody was waiting for: the hands-on! Book this step for a day off, like a Sunday. Make sure you are free from other commitments, since a full schedule would inhibit your creative flow. The key is finding the balance between having fun in the process and not underestimating the importance of details.
Remember: the invitation is your guests’ first glimpse on the wedding theme and overall mood. Make sure these transpire from your choice of style, colours and props. Disclaimer: try to stick to your brainstorming list and don’t overload your cards with different styles. It’s rather easy to be misleading!
A good tactic would be to make a couple of drafts of different designs, and ask someone from your friend or family for their feedback. Surely, the final choice needs to be yours but sometimes a word from a loved one can remove the mist from your thoughts and make you take the right decision!
Step 5. Sign & send
We started this article by making uniqueness claims. What’s more unique than a signature, then? Once your invitations are ready, spend some quality time with your significant other and sign all the cards by hand – maybe add a personal touch addressed to each guest. A beautiful idea would be to personally deliver the envelopes to everyone, time-consuming but definitely worth the effort!

Leave a comment
All comments are moderated before being published.
This site is protected by hCaptcha and the hCaptcha Privacy Policy and Terms of Service apply.